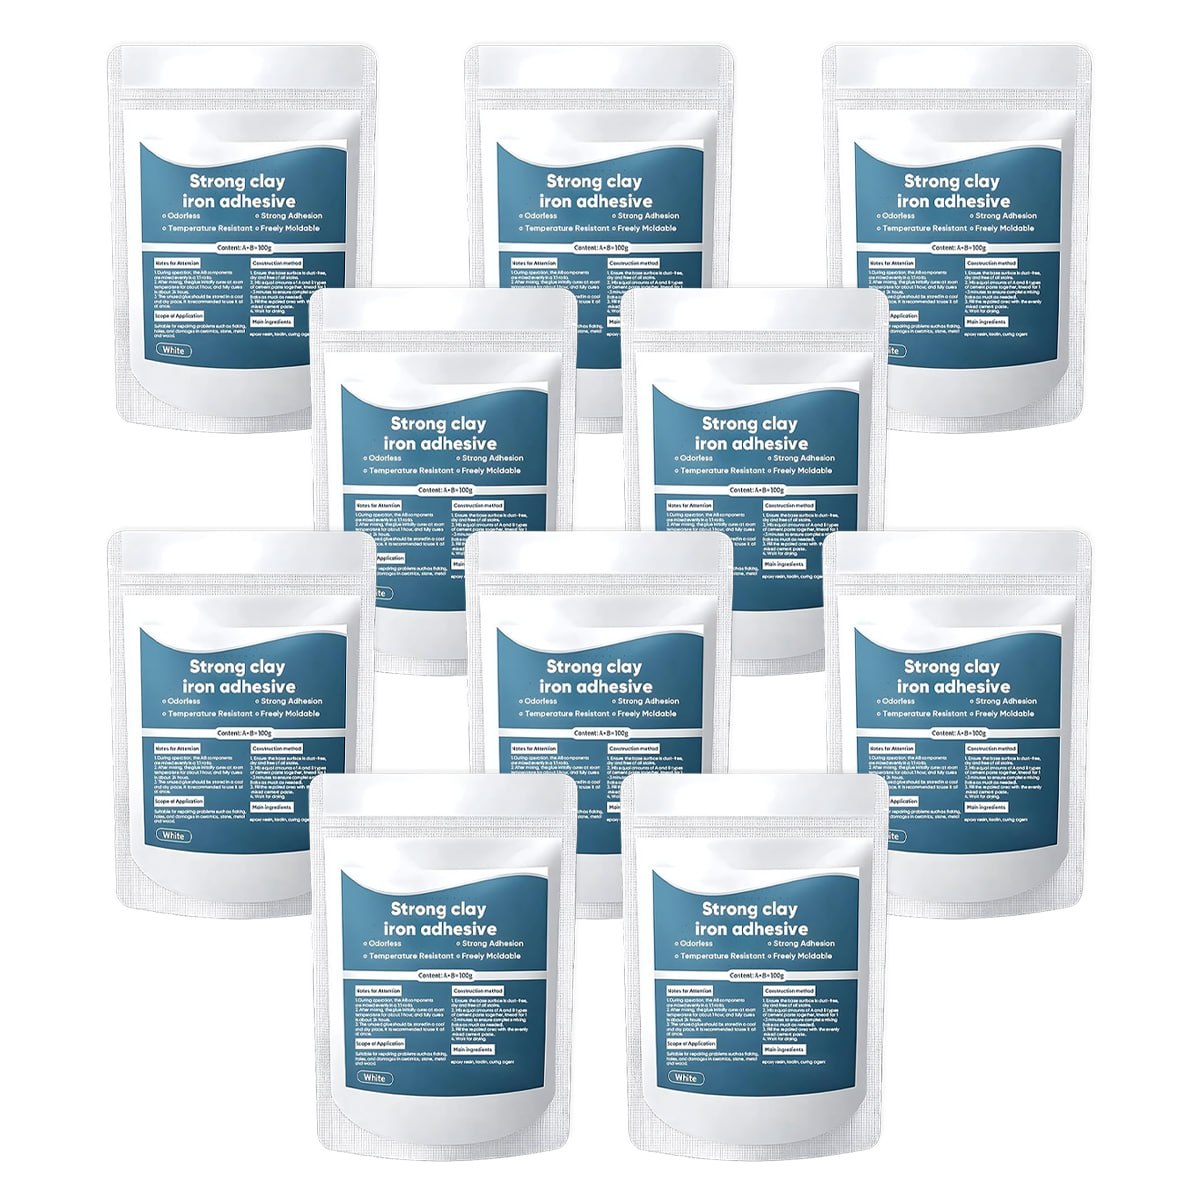
✨2026 HOT SALE 60% OFF🔥High-Strength Multi-Purpose Repair Clay - Fill Cracks, Rebuild Damage, Repair More Around Your Home.
✨2026 HOT SALE 60% OFF🔥High-Strength Multi-Purpose Repair Clay - Fill Cracks, Rebuild Damage, Repair More Around Your Home.
Fills, Bonds & Rebuilds
Hard-Curing Multi-Surface Repair
Moldable Before Curing
BUNDLE & SAVE

Shipping Protection
Couldn't load pickup availability

✨2026 HOT SALE 60% OFF🔥High-Strength Multi-Purpose Repair Clay - Fill Cracks, Rebuild Damage, Repair More Around Your Home.
Fill Cracks. Rebuild Damage. Repair More Around Your Home.
A moldable two-part epoxy repair putty designed to fill cracks, rebuild broken areas, and create a strong, hard finish on many common household materials.
No dripping liquid glue. No complicated tools. Just mix, mold, and let it cure.

Let's Hear From Our Happy Customers
 Jason M. (49 years old, United State)
“I had a small crack in an old basement pipe and honestly thought I’d need to replace the whole section. I cleaned the area, pressed the putty around it, and let it cure overnight. The drip stopped, and it has held up well so far. Really useful stuff to keep around for unexpected repairs.”

 John W. (56 years old, United State)
⭐⭐⭐⭐⭐
“The corner of this trim had been cracked and chipped for a while, and it made the whole area look worn out. I filled the damaged section, shaped it, and painted over it after curing. It’s not completely invisible up close, but it looks much cleaner now and saved me from replacing the entire piece.”

KEY FEATURE
HEAVY-DUTY REPAIR & REBUILD
Fill cracks, patch holes, and rebuild chipped or missing sections where ordinary liquid glue may not be enough. Once properly mixed and fully cured, the two-part epoxy formula hardens into a firm, durable repair on many common household surfaces.

VERSATILE MULTI-SURFACE USE
Use one practical repair solution across many compatible surfaces, including metal, wood, ceramic, tile, stone, concrete, and rigid plastic.

MOLD IT TO FIT THE DAMAGE
The soft putty can be kneaded, pressed, wrapped, and shaped by hand before curing. It easily fills irregular cracks, curved areas, broken edges, and missing corners.

RESEALABLE FOR FUTURE REPAIRS
The convenient zip-lock pouch helps protect unused repair clay between projects. Store it in your toolbox, garage, or workshop so it is ready for the next repair.

HOW TO USE
SIMPLE 4-STEP APPLICATION
1. Take Equal Parts: Take the same amount of Part A and Part B.
2. Mix Until Uniform: Knead thoroughly until the color and texture are completely even.
3. Press Into Place: Apply firmly to the damaged area, then smooth and shape as needed.
4. Let It Cure: Leave the repair undisturbed until fully hardened before use.
For best results: Clean and dry the surface before applying.

SPECIFICATIONS
- Product Type: Two-Part Epoxy Repair Putty
- Net Weight: 100g (Part A + Part B)
- Color: White
- Mixing Ratio: 1:1
- Form: Soft, Moldable Putty
- Suitable For: Metal, Wood, Ceramic, Tile, Stone, Concrete & Compatible Rigid Plastics
- Package: Resealable Storage Pouch